Aaaahh, Sunlight!
The making of the image for the IRTC.

Once a year the sun hits the crypt of St. Agnes just right, and she arises to bask in its warmth. But this year she does not go un-noticed...


By Jeff M. Thomas
jeff@twilightfair.com
(This site is hastily thrown together with no polish whatsoever. It may improve some day, but probably not, I do internet work for a living so doing it on my spare time is not a high priority :-)
If you like the Celtic art, go here http://www.aon-celtic.com/


This is the full image, of which about the bottom 2/3 where submitted to the IRTC due to time constraints. (i.e. my dramatic underestimation of how just long the final image would take to render with the media. This one took 9 days 7 hours on a pIII 700 with 320 megs). This image also has slightly different media settings then the submitted one. I just can't stop playing with the settings!

To see the full image without media (brings out the texture details) click here.
By comparison to the version with media, this one took only about 5 hours to render.

I am a programmer by trade, so Povray's scene description language is right up my ally, once I found my way around it's idiosyncrasies. I love that it allows me to be visually creative using my greatest pleasures, imagination and code.

Here is the submition text doc AhSunlight.txt. It has some in depth comments on how the image was created and what the various parts are (isosurfaces, CSG, etc. etc.). I'm not going to re-hash it all here, but rather provide images of the various stages I went through with some commentary.
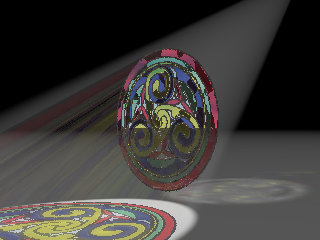
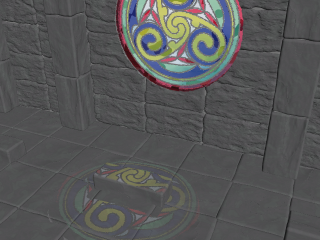
This is the image that started it all. Once I figured out how to make the window using carved isosurfaces I built this, added a spot light and some media and rendered. Once I saw it I knew I had to make a complete image for the IRTC. Note how jagged the window is, the piece of art I originally used was only 
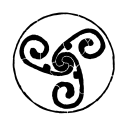
256x256 (from http://www.aon-celtic.com/). I later re-did it by hand much larger and with added lead lines. Note also the photons.
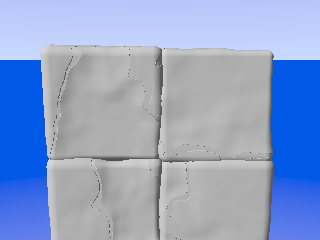
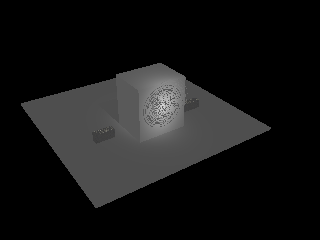
I wrote a macro to build stone walls with isosurfaces (who hasn't?). In this image I was tweaking the stone functions to make the floor. I also ended up using this for the crypts and the columns
Starting to come together. Note how rough the walls are.
Photons and Ghost test. Originally the crypts were all going to look the same but with different art. I later figured that was too dull, and not very realistic...
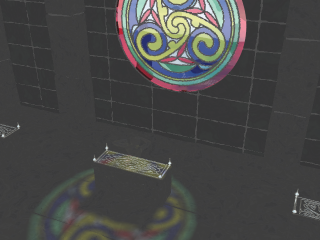
So I re-worked crypts. Notice I have a lot of switches I can throw for faster rendering when I want to work on just one part. These switches can replace the floor and wall with stand-ins, remove the glass from the window, remove the columns and other things. The image_map out the window is from a business trip to Sand Point, Idaho. Only I would be sent on a trip to 'the gateway to ski country' in mid summer! The size of the window is off because I was also in the middle of replacing it with my bigger, hand drawn one.
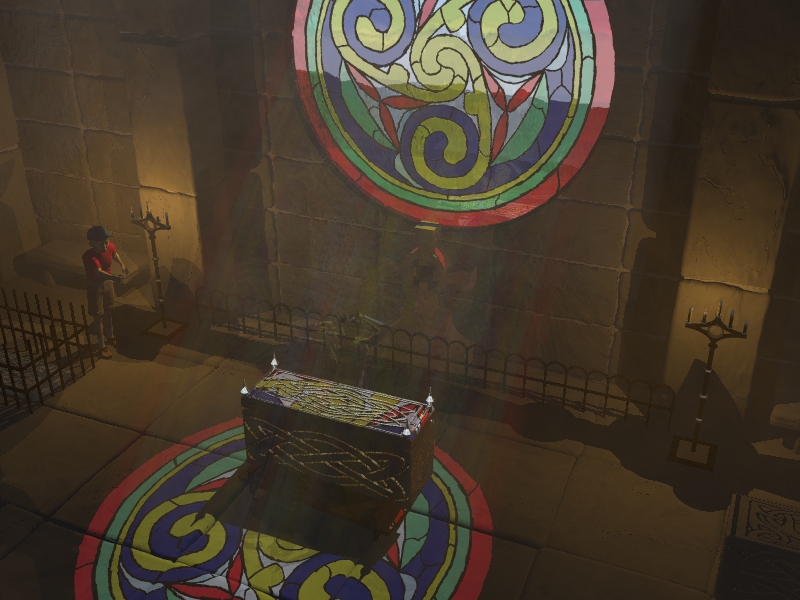
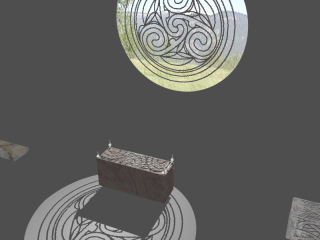
Time to place the media box. Originally it was only placed where the light fell through the window, but when I added the lit candles I had to resize it. This is a reverse angle long shot.
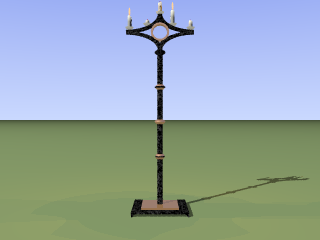
And now some props. First came the candelabra. I had never done much in Povray with trying to model something realistic. I was so pleased with how well this CSG turned out it gave me the confidence to model the rest of the props myself rather than look for pre-made meshes. This is modeled after one used in Disney's The Hunchback of Notre Dame.
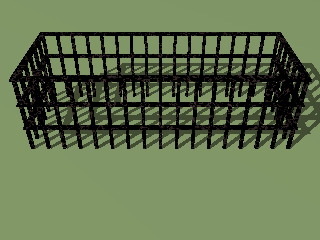
Now to put a fence around the left hand crypt. I made it as a macro and doing it inspired me to make the lower round topped fence below the window. Since there was a fence there now it begged for something to be behind it. This led to...
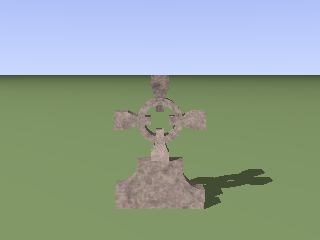
The Celtic Cross. I was going to do some fancy carving in it's face but time was running short by this point and it would not read well through the media anyway.
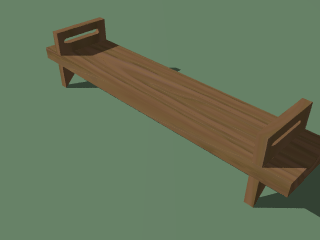
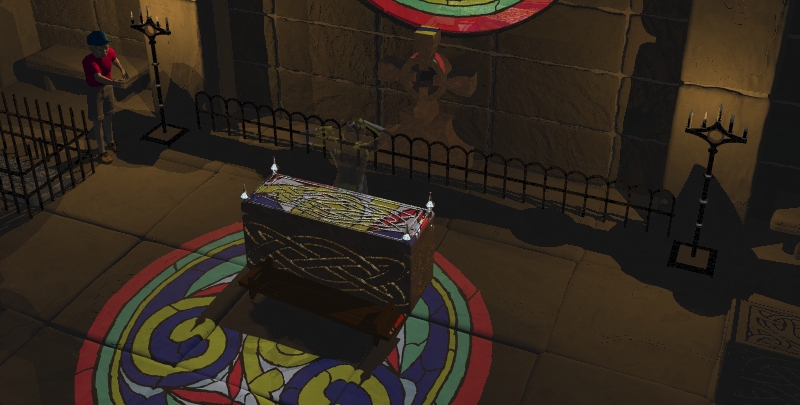
The last prop that got finished, the kneeling bench. It was going to house some other small props, like a rose and a votive candle that would pick out the props and highlight the carving on the front of the central crypt. After seeing what the lights on the candelabra did to the rendering time however I opted out of adding any more lights, and ran out of time for any more props anyway.
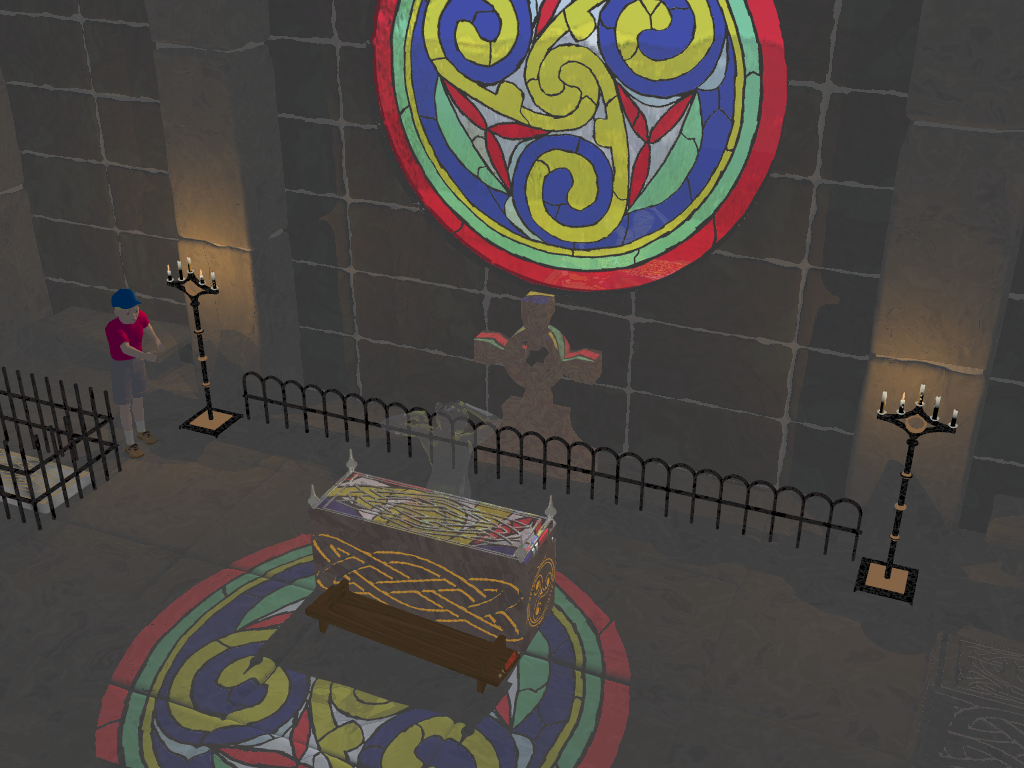
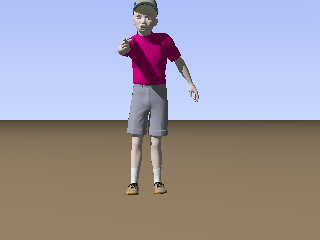
The final piece of the puzzle, the boy freshly imported from Poser. To my surprise he had been mirrored from left to right.

All the elements together without media, but the lighting is all off. I lowered the ambient setting and tinkered with the fall off settings for the candelabras to get things looking right again. Notice on the bottom left how the pattern of the window on the floor has a cropped top. A baffle I had put up to prevent the sky_sphere from reflecting off the finials was sticking into the spotlight cone. I was going to put an image on the baffle so the finials would have something to reflect, but ran out of time.

Also the crypt on the far right has something strange going on with it, it's partially transparent. Turned out the max intersections settings for the crypt isosurface and the carving isosurface (which intersects the crypt in a difference CSG) was too low. I ended up setting all_intersections for most of the isosurfaces which didn't help the render time any. AND the intersecting carving had a simi-transparent stone texture that had to be backed with a solid gray pigment to prevent "ray leakage". That being a term I invented for this project to answer the question "Where did the ray go to get THAT artifact?" due to the number of missing intersections, isosurface dropouts, accidentally transparent textures and general lapses in intelligence I inflicted on myself.

A duplicate rendering of the submitted picture without media. It really allows the textures in the stone and crypts to come out.
Here are all the masks used in the window (NOT full size):